
 Postagens


Mac a liar XD

Posted by ruimarinho
Lorem Ipsum is simply dummy text of the printing and typesetting industry. Lorem Ipsum has been the industry’s standard dummy text ever since the 1500s, when an unknown printer took a galley of type and scrambled it to make a type specimen book.


Fedora 21 - reset root Password
Quick tutorial to show how to reset root Password in Fedora 21:
1. Open terminal;
2. Run the command: 'sudo -i';
3. Enter the password of your current account;
4. Type 'passwd';
5. System will ask for the new root password;
6. After typing and confirming the new password run 'exit' command 2 times;
Posted by ruimarinho
Lorem Ipsum is simply dummy text of the printing and typesetting industry. Lorem Ipsum has been the industry’s standard dummy text ever since the 1500s, when an unknown printer took a galley of type and scrambled it to make a type specimen book.
Crontrolar Servo com arduino
Abaixo deixo o material utilizado no projeto, assim como algumas imagens e ainda um video deste em funcionamento, assim como o código para o arduino.
Imagens:


Vídeo:
Código Arduino:
#include <Servo.h>
Servo myservo;
void setup()
{
 Serial.begin(9600);
  myservo.attach(9);
myservo.write(0);
}
 void loop()
{
  int x=0;
if (Serial.available()>0)
{
 x=Serial.read ();
}

if (x=='i')
{
myservo.write(360);
}
if (x=='h')
{
myservo.write(315);
}

if (x=='g')
{
myservo.write(270);
}
if (x=='f')
{
myservo.write(225);
}
if (x=='e')
{
myservo.write(180);
}
if (x=='d')
{
myservo.write(135);
}
if (x=='c')
{
myservo.write(90);
}
if (x=='b')
{
myservo.write(45);
}
if (x=='a')
{
myservo.write(0);
}
}
Posted by ruimarinho
Lorem Ipsum is simply dummy text of the printing and typesetting industry. Lorem Ipsum has been the industry’s standard dummy text ever since the 1500s, when an unknown printer took a galley of type and scrambled it to make a type specimen book.
Carro Autónomo (Parte 2) - Projeto Arduino
Imagens:


Vídeo
Código Arduino :
void setup()
{
Serial.begin(9600);
}
void loop()
{
int x=0;
if (Serial.available()>0)
{
x=Serial.read ();
}
//frente
if (x=='a')
{
digitalWrite(12,0); //Motor1
digitalWrite(11,1); //Motor 1
analogWrite(10,254); //Motor 1 PWM
digitalWrite(8,0); //Motor 2
digitalWrite(7,0); //Motor 2
analogWrite(9,0); //Motor 2 PWM
}
//tras
if (x=='b')
{
digitalWrite(12,1); //Motor1
digitalWrite(11,0); //Motor 1
analogWrite(10,254); //Motor 1 PWM
digitalWrite(8,0); //Motor 2
digitalWrite(7,0); //Motor 2
analogWrite(9,0); //Motor 2 PWM
}
//para
if (x=='c')
{
digitalWrite(12,0); //Motor1
digitalWrite(11,0); //Motor 1
analogWrite(10,0); //Motor 1 PWM
digitalWrite(8,0); //Motor 2
digitalWrite(7,0); //Motor 2
analogWrite(9,0); //Motor 2 PWM
}
//direita
if (x=='d')
{
digitalWrite(8,0); //Motor2
digitalWrite(7,1); //Motor 2
analogWrite(9,254); //Motor 2 PWM
digitalWrite(12,0); //Motor1
digitalWrite(11,1); //Motor 1
analogWrite(10,254); //Motor 1 PWM
}
//esquerda
if (x=='e')
{
digitalWrite(8,1); //Motor 2
digitalWrite(7,0); //Motor 2
analogWrite(9,254); //Motor 2 PWM
digitalWrite(12,0); //Motor1
digitalWrite(11,1); //Motor 1
analogWrite(10,254); //Motor 1 PWM
}
// traz direita
if (x=='f')
{
digitalWrite(8,0); //Motor2
digitalWrite(7,1); //Motor 2
analogWrite(9,254); //Motor 2 PWM
digitalWrite(12,1); //Motor1
digitalWrite(11,0); //Motor 1
analogWrite(10,254); //Motor 1 PWM
}
// traz esquerda
if (x=='g')
{
digitalWrite(8,1); //Motor 2
digitalWrite(7,0); //Motor 2
analogWrite(9,254); //Motor 2 PWM
digitalWrite(12,1); //Motor1
digitalWrite(11,0); //Motor 1
analogWrite(10,254); //Motor 1 PWM
}
}
Código vb.net:
https://www.box.com/s/g07tekxpufp21crmvnwk
Posted by ruimarinho
Lorem Ipsum is simply dummy text of the printing and typesetting industry. Lorem Ipsum has been the industry’s standard dummy text ever since the 1500s, when an unknown printer took a galley of type and scrambled it to make a type specimen book.
Ultrassónico Hcsr04 + Arduino 1.0.5
Boas! Mais um tutorial desta vez a demonstrar o funcionamento do sensor
ultra-sónico "Hc sr04" com o arduino. Mais uma vez fiquem com as imagens,
vídeos e código.
Imagens:
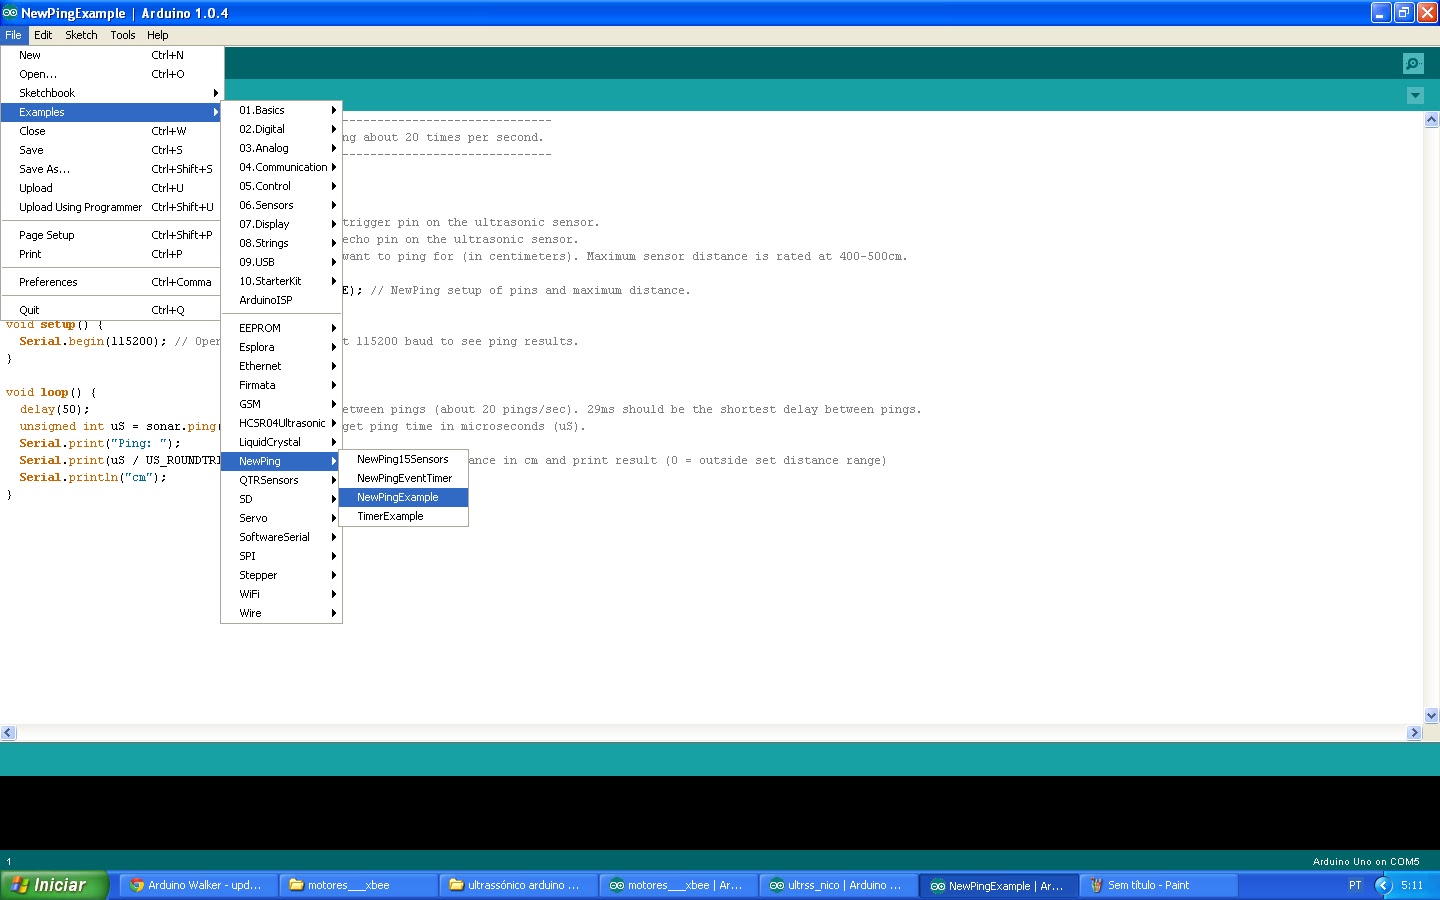

// ---------------------------------------------------------------------------
// Example NewPing library sketch that does a ping about 20 times per second.
// ---------------------------------------------------------------------------

#include <NewPing.h>

#define TRIGGER_PIN  6  // Arduino pin tied to trigger pin on the ultrasonic sensor.
#define ECHO_PIN     5  // Arduino pin tied to echo pin on the ultrasonic sensor.
#define MAX_DISTANCE 200 // Maximum distance we want to ping for (in centimeters). Maximum sensor distance is rated at 400-500cm.

NewPing sonar(TRIGGER_PIN, ECHO_PIN, MAX_DISTANCE); // NewPing setup of pins and maximum distance.

void setup() {
  Serial.begin(9600); // Open serial monitor at 115200 baud to see ping results.
}

void loop() {
  delay(50);                      // Wait 50ms between pings (about 20 pings/sec). 29ms should be the shortest delay between pings.
  unsigned int uS = sonar.ping(); // Send ping, get ping time in microseconds (uS).
  Serial.print("Ping: ");
  Serial.print(uS / US_ROUNDTRIP_CM); // Convert ping time to distance in cm and print result (0 = outside set distance range)
  Serial.println("cm");
}
Posted by ruimarinho
Lorem Ipsum is simply dummy text of the printing and typesetting industry. Lorem Ipsum has been the industry’s standard dummy text ever since the 1500s, when an unknown printer took a galley of type and scrambled it to make a type specimen book.


